Puddle-free Pretty
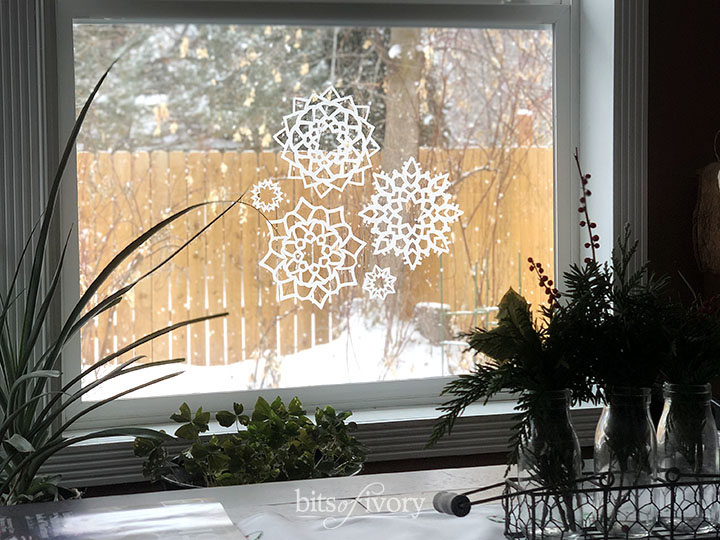
Why paper snowflakes? Winter is cold and slick and treacherous. But it’s also stunningly beautiful at times, and I love the sparkly blanket of white a good snowstorm leaves behind.
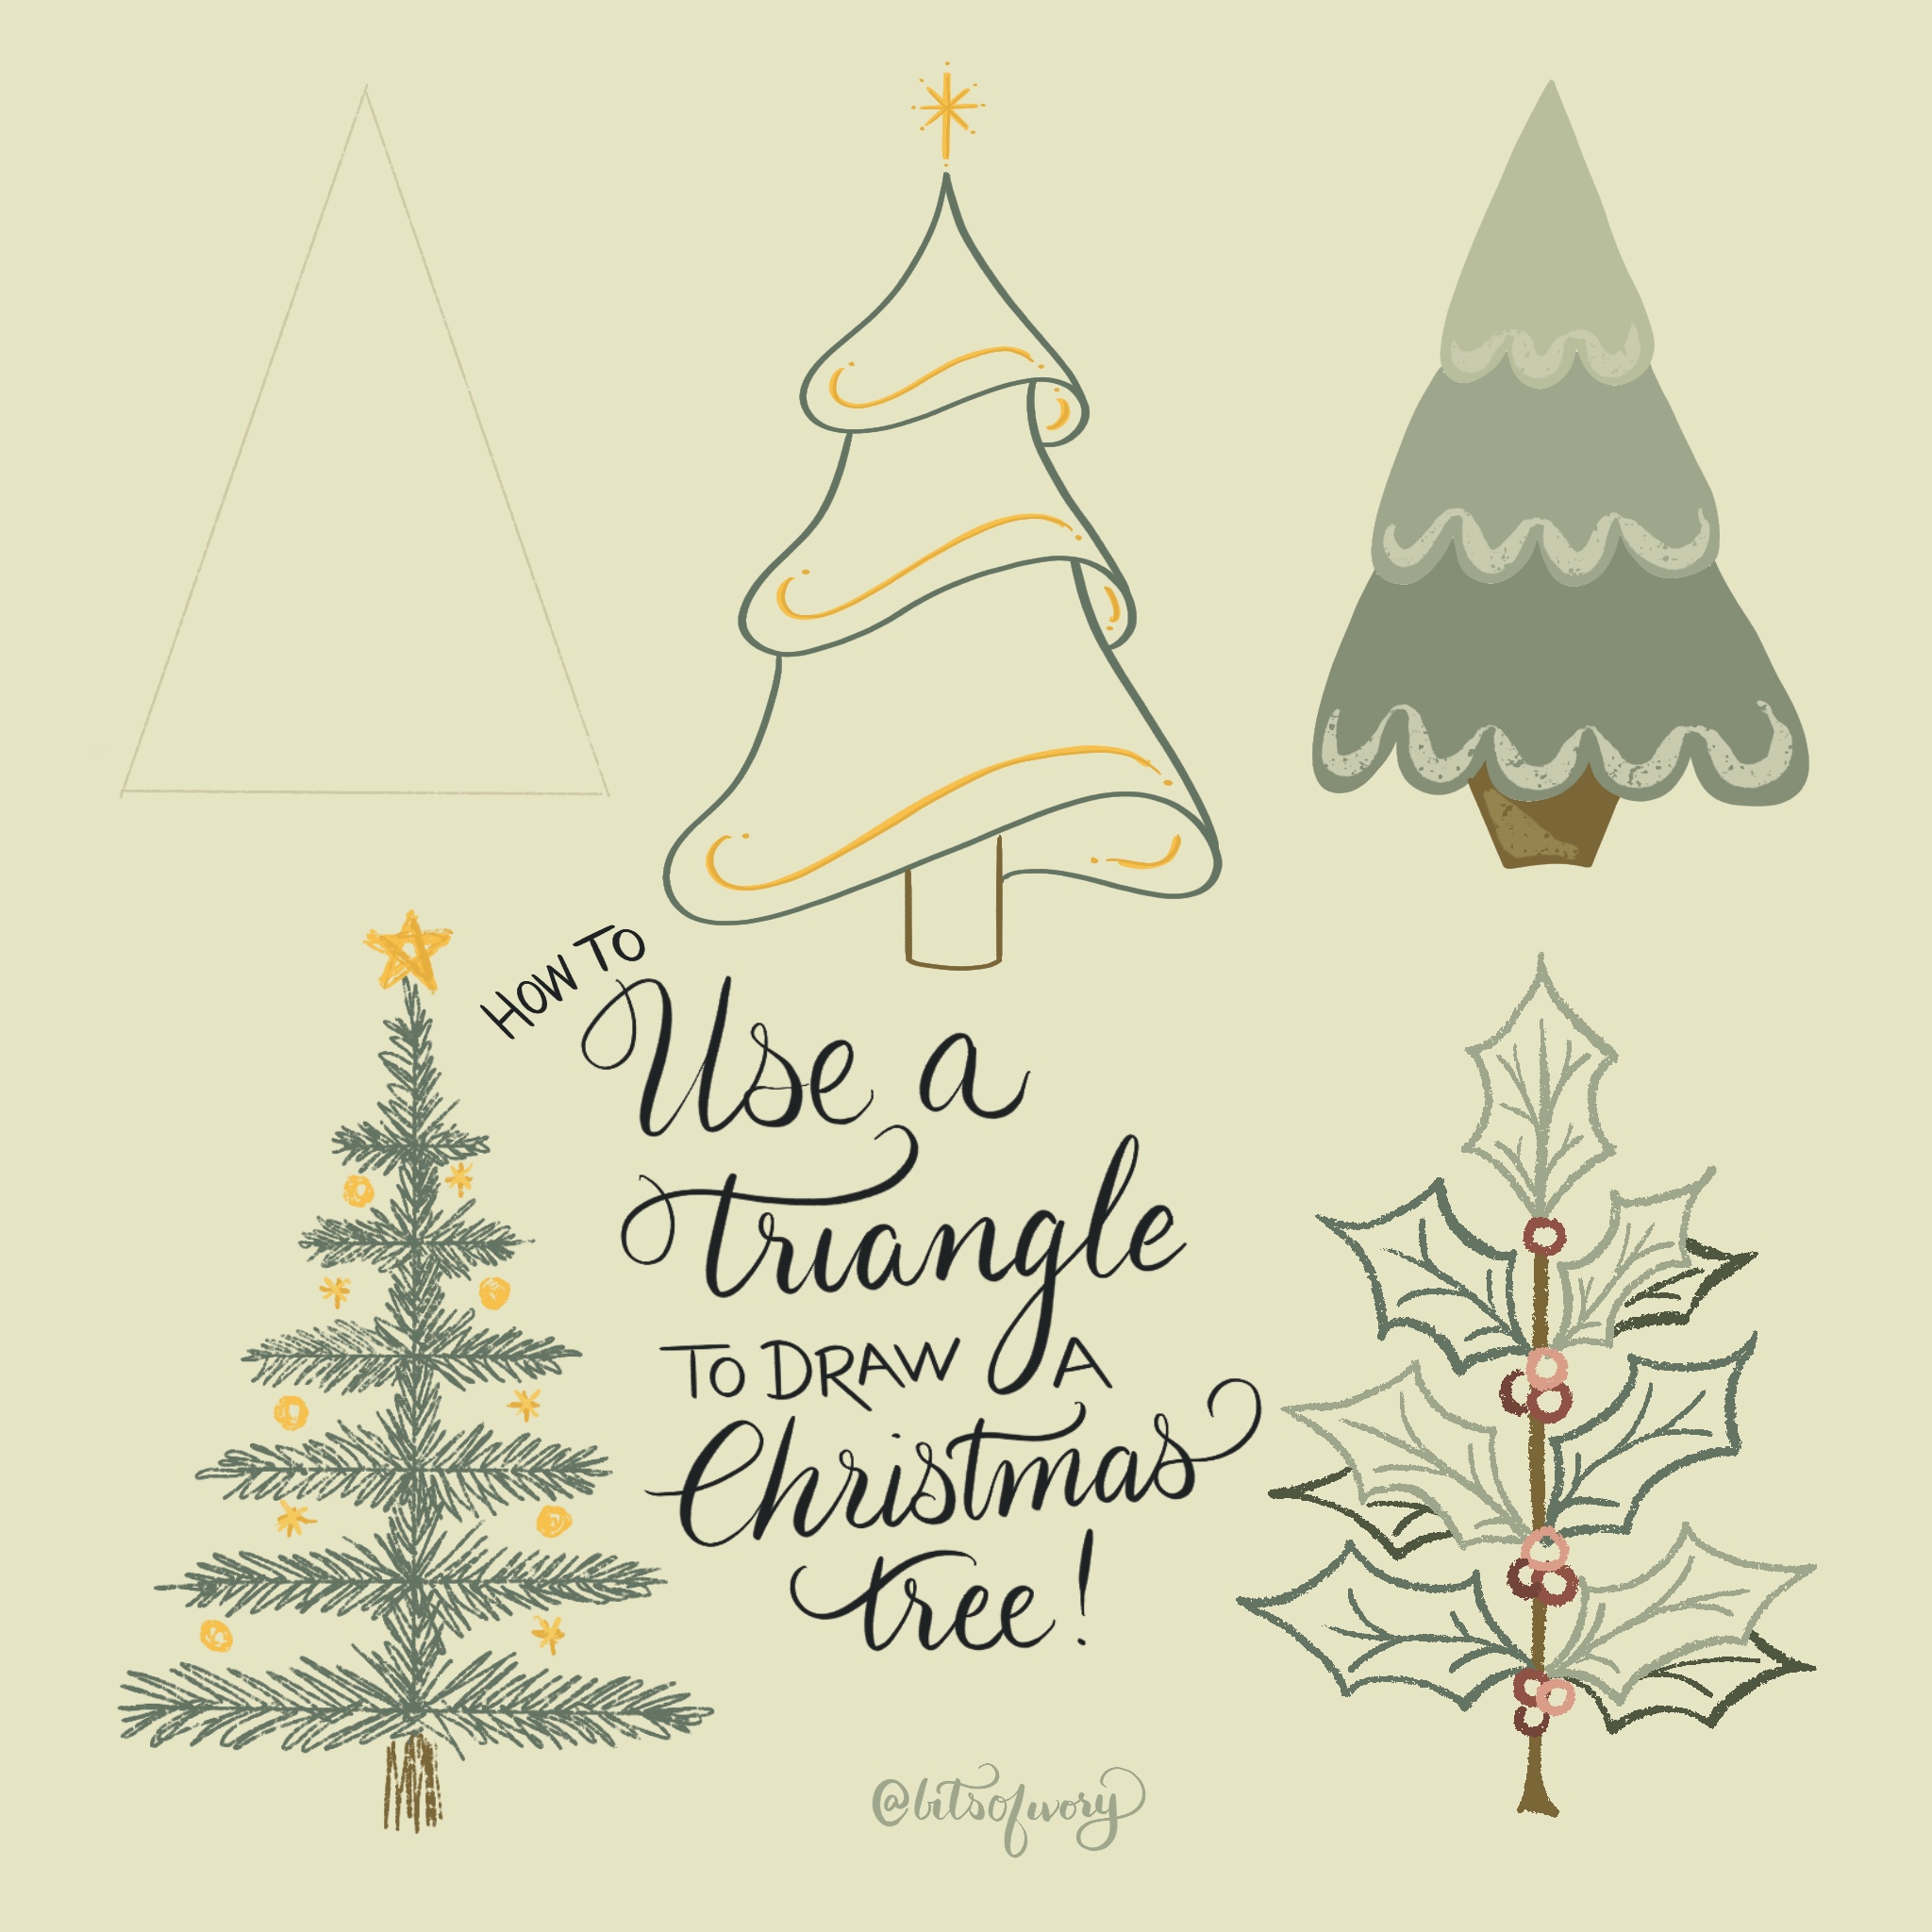
Despite my aversion to cold, wet, slippery weather, my favorite winter decorations are snowflakes. My Christmas tree is covered with them. Most of my winter decorations are snowflake inspired.
And paper snowflakes have been my favorite for many years, ever since I learned to make them in 3rd grade.
My teacher, Ms. Cole, taught us the most important secret to a perfect snowflake, but over the years I’ve learned a few other tricks to make them even more amazing. And today I’d like to share them with you.
It’s All in the Fold
Folding the paper properly is what makes a pretty, round snowflake instead of the sad, square ones you’ll see in some shop windows. It’s really simple once you’ve made one or two, but here are a few tips to make it even easier!
Pick the Perfect Paper
This is technically about the fold, because the best snowflake papers are perfect precisely because they’re easiest to fold (and cut). The thinner the paper, the better!
One of my favorites is tracing paper because it’s translucent and looks gorgeous in the window. Onion skin paper is also lovely, and even parchment paper (the cooking kind) can make a really gorgeous flake.
If you’re using copier paper, a lighter weight will be easiest to fold and cut, but regular weight paper works too.
Folding the Paper Snowflake
Folding is where the magic happens! I’ve created a printable pdf file to walk you through the folds step-by-step; just click the page below to download or print. I’ve also included the instructions below for accessibility.
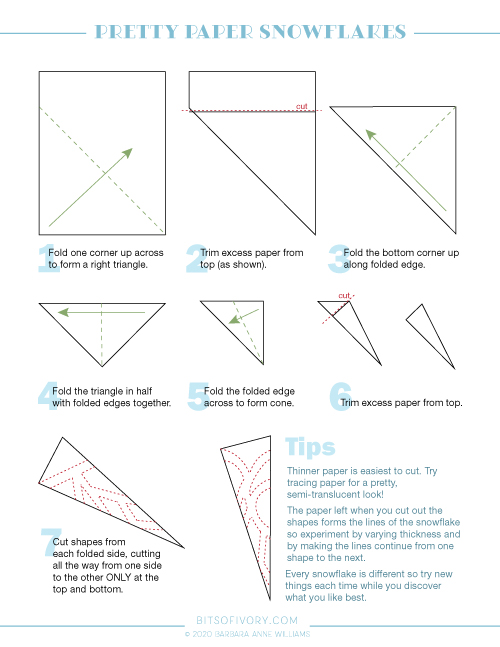
- Fold the bottom left corner up and across so that the bottom edge of the paper lines up along the right edge.
- Trim any excess paper from the top, leaving a right triangle.
- Keeping the paper oriented the same way, fold the triangle in half by bringing the bottom right corner up to match the top left corner, creating a smaller right triangle. The folded edges are together.
- Fold the triangle in half again by bringing the top right corner across to match up with the top left corner.
- Here’s the tricky part! Fold the right edge over to the left edge to make what my teacher called an “ice cream cone shape.”
- Trim the extra paper from the top.
- Now you can cut shapes from each side of the cone, cutting all the way across ONLY at the very top and very bottom (tip).
- Then open it up to see your beautiful creation! I didn’t put step 8 on the printable sheet. You can pencil it in if you think you’ll forget that step. 😉
Little Tips That Make a Big Difference
Those are the basics, and experimenting is a great way to see what shapes and angles make your favorite snowflake patters, but here are a few quick tips you might find useful
Select the Sharpest Scissors
Obviously the sharpest scissors cut the best. You’re cutting 16 layers! For little shapes and precise points you’ll have the best results from very sharp scissors that have a tiny point for precision cuts.
Getting Edgy
The edge is one of the most impactful cuts you make on the snowflake. It determines the shape of the entire snowflake. A steep angle will be a pointier flake, and shallow curves make it rounder.
Creating Lines
While random shapes can make a pretty flake, I’ve found some of the loveliest are the result of nestling shapes within each other so that the remaining paper creates lines. You can see what that looks like in the picture below.

Great Paper Snowflakes
Now that you know all of my secrets, it’s your turn! Sit down with a pile of paper and a pair of scissors, and spend an hour or two discovering your favorite flake designs.
And don’t forget to tag me (@bitsofivory) on social media when you post so that I can see your pretty, puddle-free, non-slippery paper snowflakes!