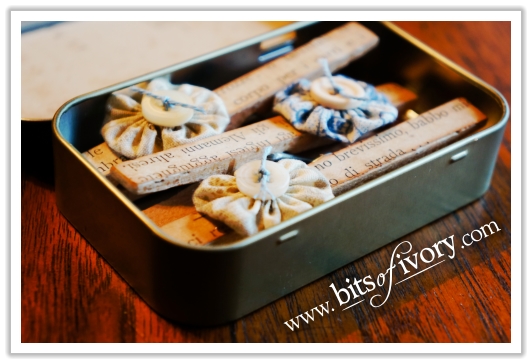
It’s spring outside, and two of my favorite appreciation celebrations are right around the corner. Carrie from A Mother’s Shadow and I teamed up to bring you two different takes on a pretty yet practical appreciation gift. My magnets were made with Teacher Appreciation Week in mind, but can be easily adapted for anyone. Carrie was thinking of Mother’s Day as she created hers, and came up with a colorful bouquet of magnets that would be a cheery gift for any special occasion!
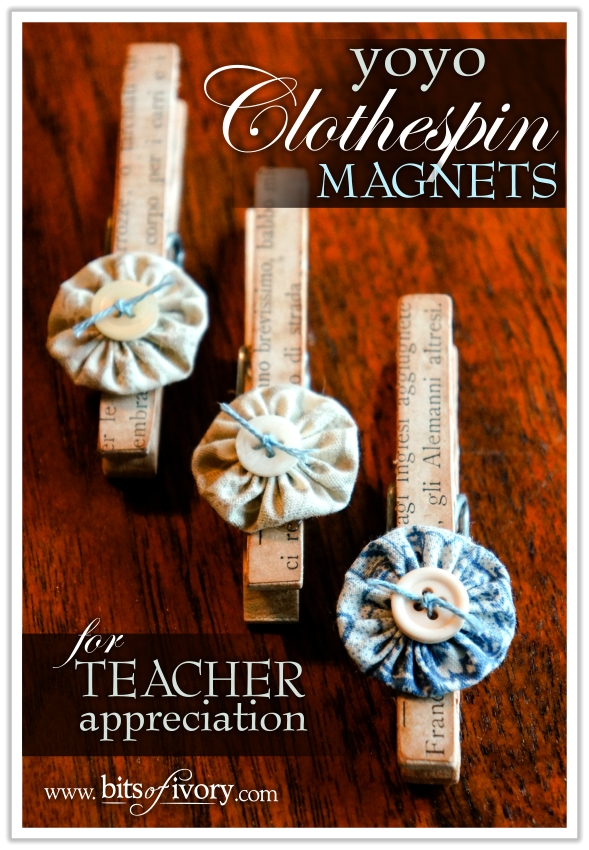
I love the subtle charm of these magnets, and they’ll really stand out from the traditional apple-themed gifts that are piled upon teachers’ desks this time of year.
Materials & tools used:
3 fabric yo yos (from this tutorial) Mine were approximately 1.25 inches diameter finished
3 buttons
3 clothes pins
Paper Scraps (mine were from an old book)
Distress ink
Rubber cement
Sandpaper (or emery board)
Magnets – I used neodymium (rare earth magnets)
(An adult should handle the magnets. They pose serious risk if swallowed!)
Strong adhesive (E6000 or similar)
Thread or string
Needle
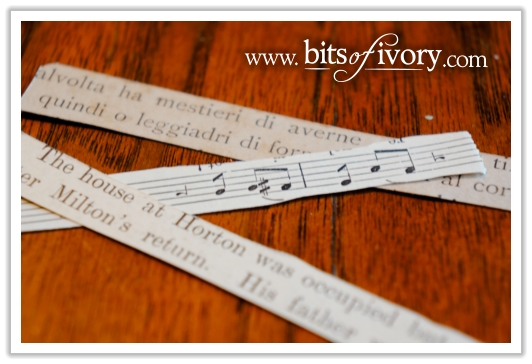
1. Measure your clothespins and cut your paper into strips. Any old pages will give this project the old book feel, but for a special touch think sheet music for a music teacher, numbers for a math teacher, bible verses for a Sunday School teacher, etc.
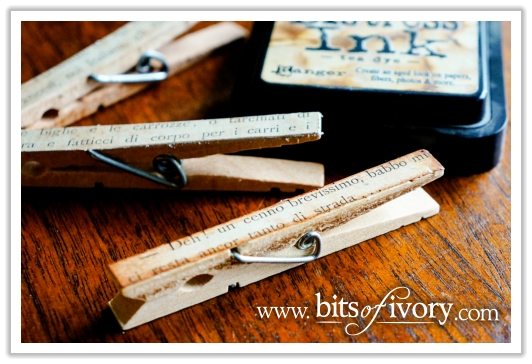
2. Adhere the paper strips to the front of the clothespins using the permanent bond method for rubber cement (evenly coat the wood and back of the paper with rubber cement and allow them to dry before applying the paper to the wood).
3. Simply rub any extra adhesive off of the clothespin with your finger, then sand the edges smooth to clean up any straggly paper bits.
4. Ink the edges of the paper/clothespin with distress ink for more of an aged look.
5. Prepare fabric yo yos according to instructions here: Fabric Yo Yos Part One.
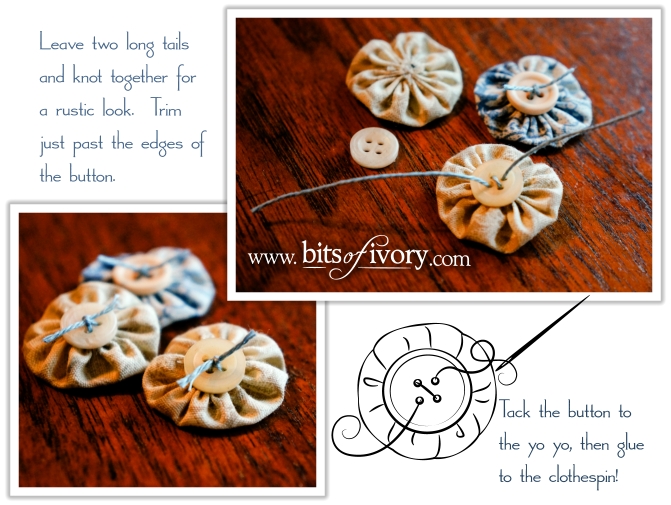
6. Sew a button to the front of each yo yo using thread, or sew with string leaving two tails that you can knot together on top (see photo above).
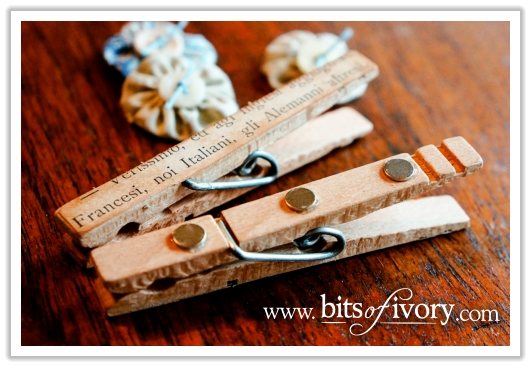
7. Adhere magnets to the clothespins using a strong adhesive and allow to dry thoroughly.
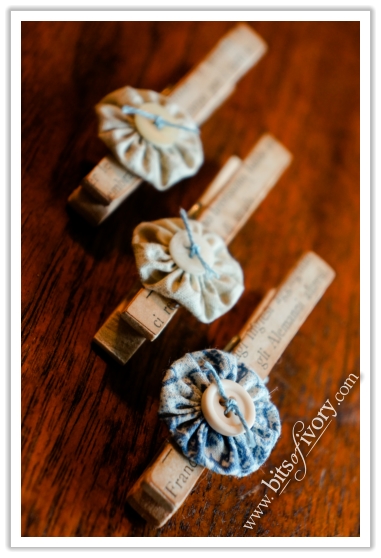 8. Adhere a yo yo to front of each magnet with the strong adhesive and allow to dry.
9. Allow the adhesive several hours to cure to ensure the best bond for the magnets and yo yos.
Of course, while these magnets are lovely just as they are, presentation can take a really great gift and make it something truly fantastic. Later this week I’ll post a project showing how to package these magnets to really impress. Here’s a sneak preview:
