Have I mentioned that I love buttons? And ink? Today we’ll explore what happens when two of my favorite things collide.
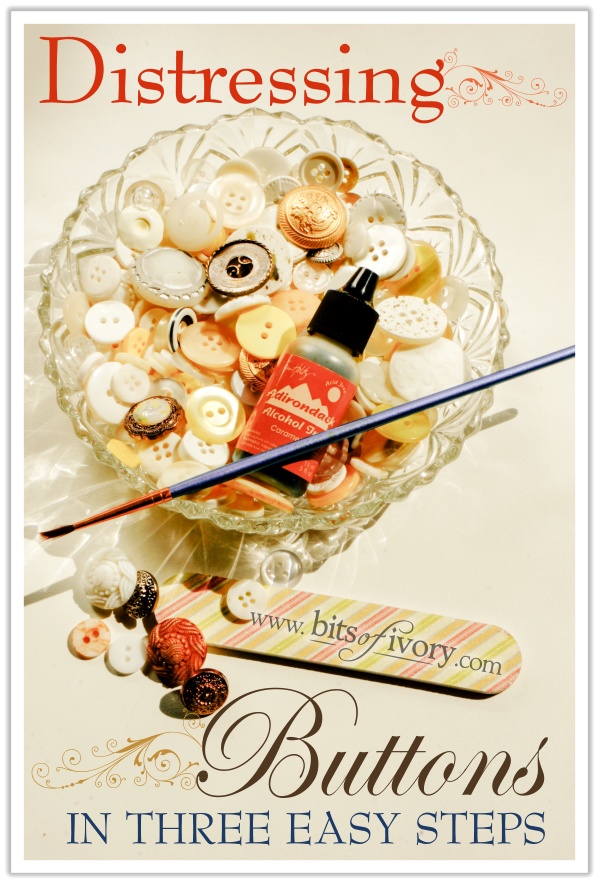 I have a few go-to solutions for projects that need the special touch of a vintage button. I’ve purchased some magnificent vintage buttons from Etsy shops in the past, and they are some of my favorites. I also have a nice collection of buttons that I inherited from my grandmother, who would cut the buttons off of worn-out clothing before cutting the cloth into cleaning rags. Finally, I have been known to buy mixed bags of buttons because I just can’t resist. They call to me.
I love making projects with a vintage feel. I love inking the edges of the papers with distressing ink to age them. I love using vintage photos or digi stamps with a vintage feel. I love using old lace. I don’t, however, love the way a shiny new buttons looks on a beautifully aged and distressed project. Here’s my solution to too-new buttons, in three quick, easy steps!
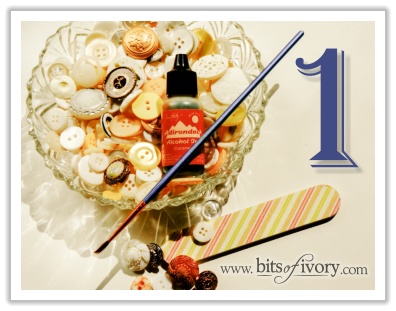
First, gather your materials. You will need:
– Button(s)
– Adirondack Alcohol Ink
(I used Caramel)
– Paint brush
– Emery board or fine sandpaper
– Soft cloth
Protect your work surface with wax paper (or go green and recycle the coated paper from stickers or vinyl).
Second, use your paintbrush or a sponge brush to apply the ink to your button unevenly. You can prop buttons at an angle to allow the ink to pool even more unevenly if you choose. Use a fine brush to make sure the ink gets into the nooks and crannys of more complex buttons.
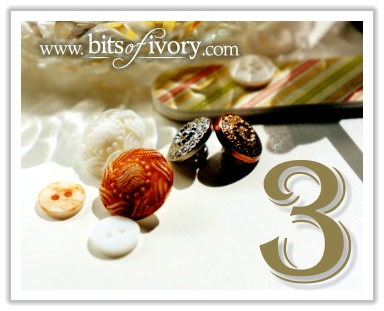
Finally, rub the ink off of the high points of the button. A cloth works well while the ink is still wet, but it dries very quickly. Use your emery board or sand paper to rough the button up a bit and take the ink off of the high points if the cloth doesn’t give you the effect you’re looking for.
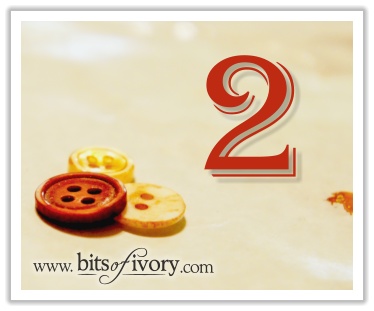
(You can see the before and afters of three buttons in the image to the left)
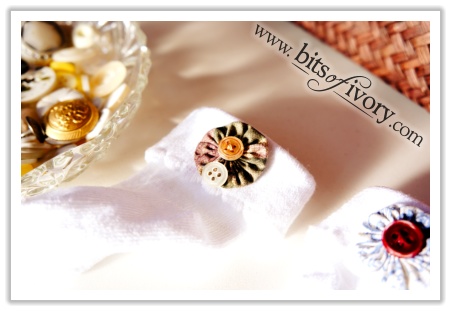
That’s it! In under ten minutes you can distress several buttons and even have your brushes rinsed and put away. The alcohol ink can be used on plastic, glass and metal buttons with beautiful results. Here’s another before and after button image, which doubles as a sneak peek at next weeks project in which we explore how fabric yo yos plus distressed buttons equal sweet itty bitty feet!
 Now that you have dozens of beautifully distressed buttons, what are you going to do with them?
